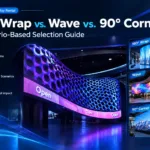
Choosing a curved LED display rental for live events, trade shows, or immersive brand activations involves more than selecting a screen shape. Curvature radius, viewing angles, cabinet connections, and content design all affect the final visual experience.
A gentle concave screen can improve stage presentation visibility, while a 180° wraparound creates an immersive environment. Serpentine wave displays add visual movement, and 90° corner configurations support architectural integration and naked-eye 3D effects.
For event production teams, the right configuration depends on venue dimensions, audience viewing positions, event objectives, and content requirements.
This guide compares four curved LED display configurations and explains how to select the right rental setup for different event scenarios.
1. Which Curved LED Display Rental Configuration Fits Your Event?
The first step is to match screen geometry with the audience experience you want to create.
| Curved LED Configuration | Radius and Angle Profile | Best-Fit Applications | Content Design Guidelines |
|---|---|---|---|
| Mild Concave Screen | R = 5–8 m; approximately 10°–30° arc | Corporate keynotes, product launches, congress stages | Center-focused text, 4K presentations, live camera feeds |
| 180° Immersive Wrap | R = 2–4 m; tight 180° concave curve | Immersive brand pop-ups, XR virtual production, simulation booths | Peripheral 3D motion graphics; keep key text within the center one-third |
| Serpentine Wave Display | Alternating convex and concave segments | Retail flagship displays, trade show booth canopies, fashion runways | Flowing ambient video loops, abstract motion graphics, non-text visuals |
| 90° Seamless Corner | 90° corner using 45° mitered cabinets | Corner building facades, naked-eye 3D illusion booths | Anamorphic 3D content optimized for one primary viewing position |
Each configuration serves a different purpose. A curved LED display rental should therefore balance visual impact with viewing distance, installation constraints, and content readability.
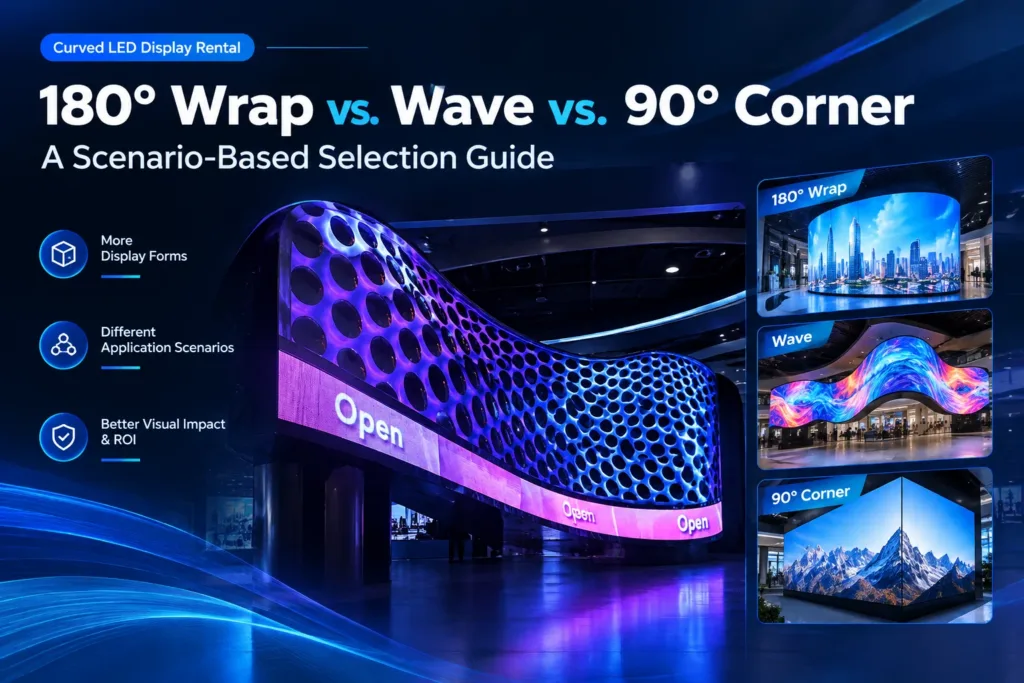
2. Mild Concave vs. 180° Wrap: Choosing the Right Curvature Radius
Curvature determines how the display relates to the audience and how much of the visual field the screen occupies.
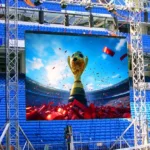
Mild Concave LED Displays for Presentations
A gentle curve with a radius of 5–8 m and an approximate arc of 10°–30° suits corporate events, conference stages, and product launches.
This configuration emphasizes the central viewing area without wrapping too tightly around the audience.
It works particularly well for:
Keynote presentations
4K slides and data visualization
Live camera feeds
Corporate branding
Product launch stages
Because text and presentation information remain central to the experience, readability should take priority over extreme curvature.
180° Wraparound LED Displays for Immersive Experiences
A tighter curve with a radius of 2–4 m creates a 180° concave environment.
This configuration suits immersive brand activations, XR production, and simulation booths where peripheral visual engagement is a major objective.
Recommended content includes:
Peripheral 3D motion graphics
Immersive environmental scenes
Extended visual backgrounds
Dynamic brand imagery
However, the tighter curve creates greater viewing-angle differences across the screen. Event teams should keep essential text and key branding within the central one-third of the display.
3. Wave-Shaped vs. 90° Corner LED Displays
Not every curved display needs to surround the audience. Wave-shaped and corner configurations address different creative and architectural requirements.
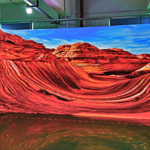
Serpentine Wave Displays for Trade Shows and Retail
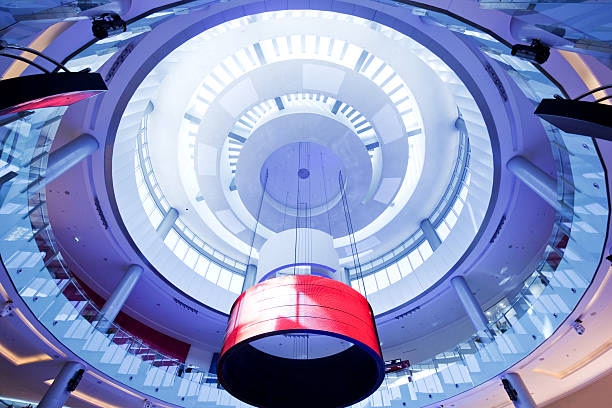
A serpentine display alternates between convex and concave segments, creating a flowing screen profile.
This structure is useful when the screen itself needs to become a visual feature of a booth, retail environment, or fashion runway.
Suitable content includes abstract motion graphics, ambient video loops, and visual textures that flow across the screen.
Because the surface direction changes continuously, content designers should avoid placing essential text across multiple curved sections unless the viewing positions have been carefully evaluated.
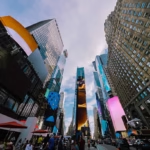
90° Corner Displays for Architectural and 3D Effects
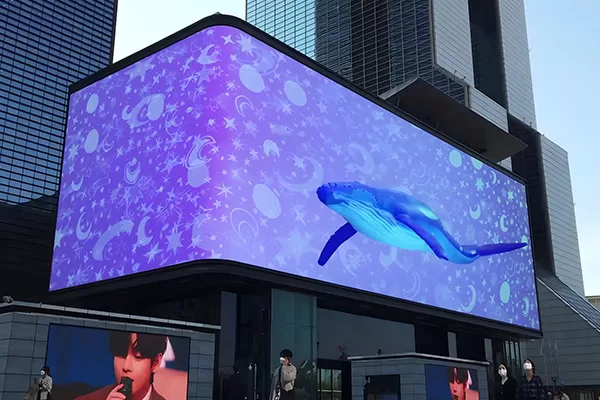
A 90° corner configuration creates a right-angle visual transition, often using cabinets with 45° mitered edges.
Typical applications include corner facades and exhibition booths designed for anamorphic 3D content.
Unlike a 180° wrap, which surrounds the audience with a broad concave surface, a corner display often relies on one primary viewing position to create the intended illusion.
Therefore, the content should be designed around the target viewing apex rather than assuming that every audience position will produce the same effect.
4. Three Engineering Rules for Curved LED Display Rentals
Selecting the screen shape is only the first step. A successful curved LED display rental also requires careful attention to viewing geometry, cabinet alignment, and camera performance.
Rule 1: Keep Essential Text Within the Central Viewing Zone
As the screen curves away from the primary viewing direction, off-axis viewers may experience greater perspective distortion and reduced text legibility.
The original design guideline uses a 45° viewing-angle threshold and recommends keeping essential text within the center one-third of the curved wall.
Apply this principle to:
Keynote titles
Presentation bullet points
Sponsor logos
Product specifications
Critical data labels
Use the outer curved sections for ambient graphics, background textures, and extended visual effects.
This approach is especially important for 180° wraparound screens, where the peripheral sections serve an immersive function rather than a text-heavy presentation function.
Rule 2: Verify Cabinet Locks, Panel Angles, and Seam Alignment
Curved LED walls require precise cabinet positioning to avoid visible vertical gaps, uneven transitions, or pixel misalignment.
For rental applications, evaluate the cabinet’s mechanical design before confirming the screen configuration.
Key requirements include:
Adjustable angle locks: Common settings include 0°, ±2.5°, and ±5°.
Die-cast aluminum cabinets: Check structural rigidity and alignment under the intended installation conditions.
Flexible LED modules: For tight radii below R = 2 m, specialized flexible rubber-substrate modules may be required to avoid stressing standard rigid PCBs.
Mitered edges: 45° cabinet edges can support right-angle corner builds.
Not every rental cabinet supports every curvature. Confirm the permitted angle per cabinet and the minimum achievable radius with the supplier before finalizing the design.
Rule 3: Check Refresh Rate and Camera Compatibility for XR Production
In 180° concave environments used for film production and live XR, the LED wall may function as a real-time visual background.
A tight curve can help create a more continuous visual environment, but camera compatibility remains critical.
For multi-camera tracking and virtual production, the original specification recommends driving ICs with a refresh rate of at least 3,840 Hz to help reduce camera scan lines and moiré artifacts.
Production teams should verify the actual display specifications and test the screen with the intended camera settings before the event.
5. How to Match Curved LED Geometry With Content Design
Screen geometry and content architecture should be planned together rather than handled as separate production tasks.
| Display Configuration | Primary Visual Objective | Recommended Content Approach | Main Design Risk |
|---|---|---|---|
| Mild concave, R = 5–8 m | Presentation clarity | Centered text, slides, live feeds | Off-axis readability |
| 180° wrap, R = 2–4 m | Immersion and peripheral engagement | Panoramic scenes, peripheral 3D graphics | Distorted text near outer sections |
| Serpentine wave | Flowing visual movement | Abstract motion, ambient loops | Content discontinuity across changing surface directions |
| 90° corner | Anamorphic 3D illusion | Perspective-corrected content | Illusion weakens away from the intended viewing apex |
Before booking a curved LED display rental, production teams should establish the main audience viewing positions and confirm how the content will be mapped onto the screen.
This reduces the risk of choosing a visually striking configuration that does not support the event’s communication goals.
6. Curved LED Display Rental Checklist for Event Production Teams
Use the following checklist when comparing rental proposals or discussing specifications with an LED display supplier.
Event objective: Is the screen primarily for presentations, immersion, decorative visuals, or anamorphic 3D?
Curvature radius: Does the proposed radius match the venue and desired viewing experience?
Screen angle: Is the configuration a mild concave curve, 180° wrap, wave, or 90° corner?
Audience position: Where will most viewers stand or sit?
Text placement: Are key information and sponsor logos within the recommended central viewing zone?
Cabinet compatibility: Do the rental cabinets support the required angles and minimum radius?
Seam alignment: Are the locks, cabinet edges, and panel transitions suitable for the design?
Flexible modules: Are specialized modules required for tight curves below R = 2 m?
Camera performance: For XR or virtual production, has the refresh rate and camera compatibility been verified?
Content mapping: Has the creative team adapted the content to the screen geometry?
A technically compatible rental configuration helps align installation requirements, content design, and audience expectations before the event begins.
Key Takeaways: Choosing the Right Curved LED Display Rental
The best curved LED display rental depends on the relationship between curvature, audience position, and content requirements.
Corporate presentations: A mild concave screen with R = 5–8 m supports center-focused presentations and live feeds.
Immersive activations: A 180° wrap with R = 2–4 m creates a more enveloping visual environment.
Retail and trade shows: Serpentine waves provide flowing visual structures suited to ambient motion graphics.
Architectural corners and 3D booths: A 90° configuration with 45° mitered cabinets supports corner integration and perspective-based illusions.
Text legibility: Keep essential information within the center one-third when using tightly curved displays.
Mechanical precision: Confirm cabinet angle locks, permitted curvature, and seam alignment before booking.
XR production: Verify a refresh rate of at least 3,840 Hz against the camera and production requirements.
Final Recommendation
A successful curved LED display rental is not simply the screen with the most dramatic shape. It is the configuration that matches the event’s viewing geometry, content design, structural requirements, and production workflow.
Before confirming a rental, evaluate the curvature radius, audience viewing positions, cabinet interlocking system, flexible module requirements, and camera specifications.
By matching these engineering factors to the intended event scenario, production teams can create a curved LED installation that delivers visual impact without sacrificing readability or technical reliability.